sunset

sunset
wicken fen
Showing posts with label tripod. Show all posts

Friday, 2 November 2012

Water drop photography

Shutter speed 1/200 F22 ISO1600

In this post i am going to show you my way of photographing a water drop. This may seem a crude set up but it works and other than my camera gear, the set up is made by things i find around my house.

This technique seems tricky but it all boils down to how patient you are. This shoot I took 493 exposures and only kept 29 to edit further. After editing i was only really happy with 6 of them.

First of is the equipment i used in this shoot:

  • Canon 500D
  • 18-55mm lens
  • 75-300mm lens
  • Extension tubes
  • Tripod
  • yongnuo YN560
  • Cable release
  • Flash trigger
  • reflector (in this case i used a cake board)
  • Pyrex glass dish (only there to catch water spills)
  • Clear drinking glass
  • Ice cube bag (you could use any freezer bag as long as it doesn't have any holes)
  • Backgrounds (in this shoot i used a sheet of wrapping paper, a pink towel and a flag)
  • Some sort of frame (in this case i used the top section of a shoe rack)
  • Box to support the flash
  • A pen
  • A towel
  • O and of course water
To start off you need to set-up your make shift 'studio'.
at the back is my background, at the top the ice cube bag pegged to the shoe rack. left side  flash , right side cake board reflector, center glass full of water in the Pyrex dish
Fill the ice cube bag with water and put a small pin hole in one of the corners, peg it to the frame above the center of the glass. This will provide you with a steady stream of drops in the same place.

Set the flash above the rim of the glass pointing towards the reflector. I have it set to about 1/4 power as this means you get a shorter duration of flash therefore freezing the motion better.

Set the camera up on a tripod with a cable release. Zoom your lens to the furthest and manually focus to the nearest focus distance. To get the focus correct place your pen where the drops are falling then move your camera to get the best focus.

shutter speed 1/200 F5.6 ISO100

shutter speed 1/160 F22 ISO800

shutter speed 1/200 F22 ISO1600

shutter speed 1/200 F22 ISO1600

shutter speed 1/200 F22 ISO800


Thursday, 25 October 2012

My Macro Technique

Water drops on a leaf
shutter speed 1/200, aperture f22, ISO100
2 flash setup
macro tubes


I often wish I could afford a true macro lens but alas I cannot. I have tried a few options in the past, starting with my 18-55mm lense.

I then brought a set of theses polaroid close up filters. I found these were pretty lame as they are not very good optically. If you are to only use say the +1, +2 and +4 on there own you can sometimes get a semi decent photo but steer clear of the +10 and using them in combination.

I went on to buy a canon 75-300mm zoom lens, I got a few good macro shots out of this lens on its own. The down side is that zoomed at the 300mm range the focus distance is 150cm.

A few months ago brought a set of manual macro tubes. These only work with my 75-300mm lens but they have the plus side of not containing any optics, so aslong as they fit the optic quality is that of the lens attached. Down side you loose any mechanical features of said lens, such as focus 'IS' and aperture control. The loss of focus and 'IS' is not such a big problem as i feel you get a better result from manually focusing the lens. as far as 'IS' is concerned it shouldn't be a problem as for most cases you should and probably us a tripod. The lack of aperture control is a very big downside. I have to set the aperture manually via having the lens set to say 'F22' pressing the aperture preview button and while holding that button release the lens from the body and then add your macro tubes.

With the above method the settings in camera are still very important.

I tend to keep my lens at the 75mm end, manual mode, pop-up flash on, yongnuo flash unit set to slave mode 'S1'.

In camera i tend to set ups as follows.

  • Shutter speed 1/125 - 1/200 of a second
  • Aperture preset at 
  • ISO100 - 200
  • Auto white balance
  • RAW
  • Pop-up flash on
The yongnuo flash settings
  • S1 mode
  • Zoomed to 50mm
  • 7/8th power
  • Rotated to 90degrees
  • Bounce card out
Macro set up

I will just mention that if you spend around £50 for your macro tubes you can get them with the electronic connectors.

Saturday, 20 October 2012

Light Photography

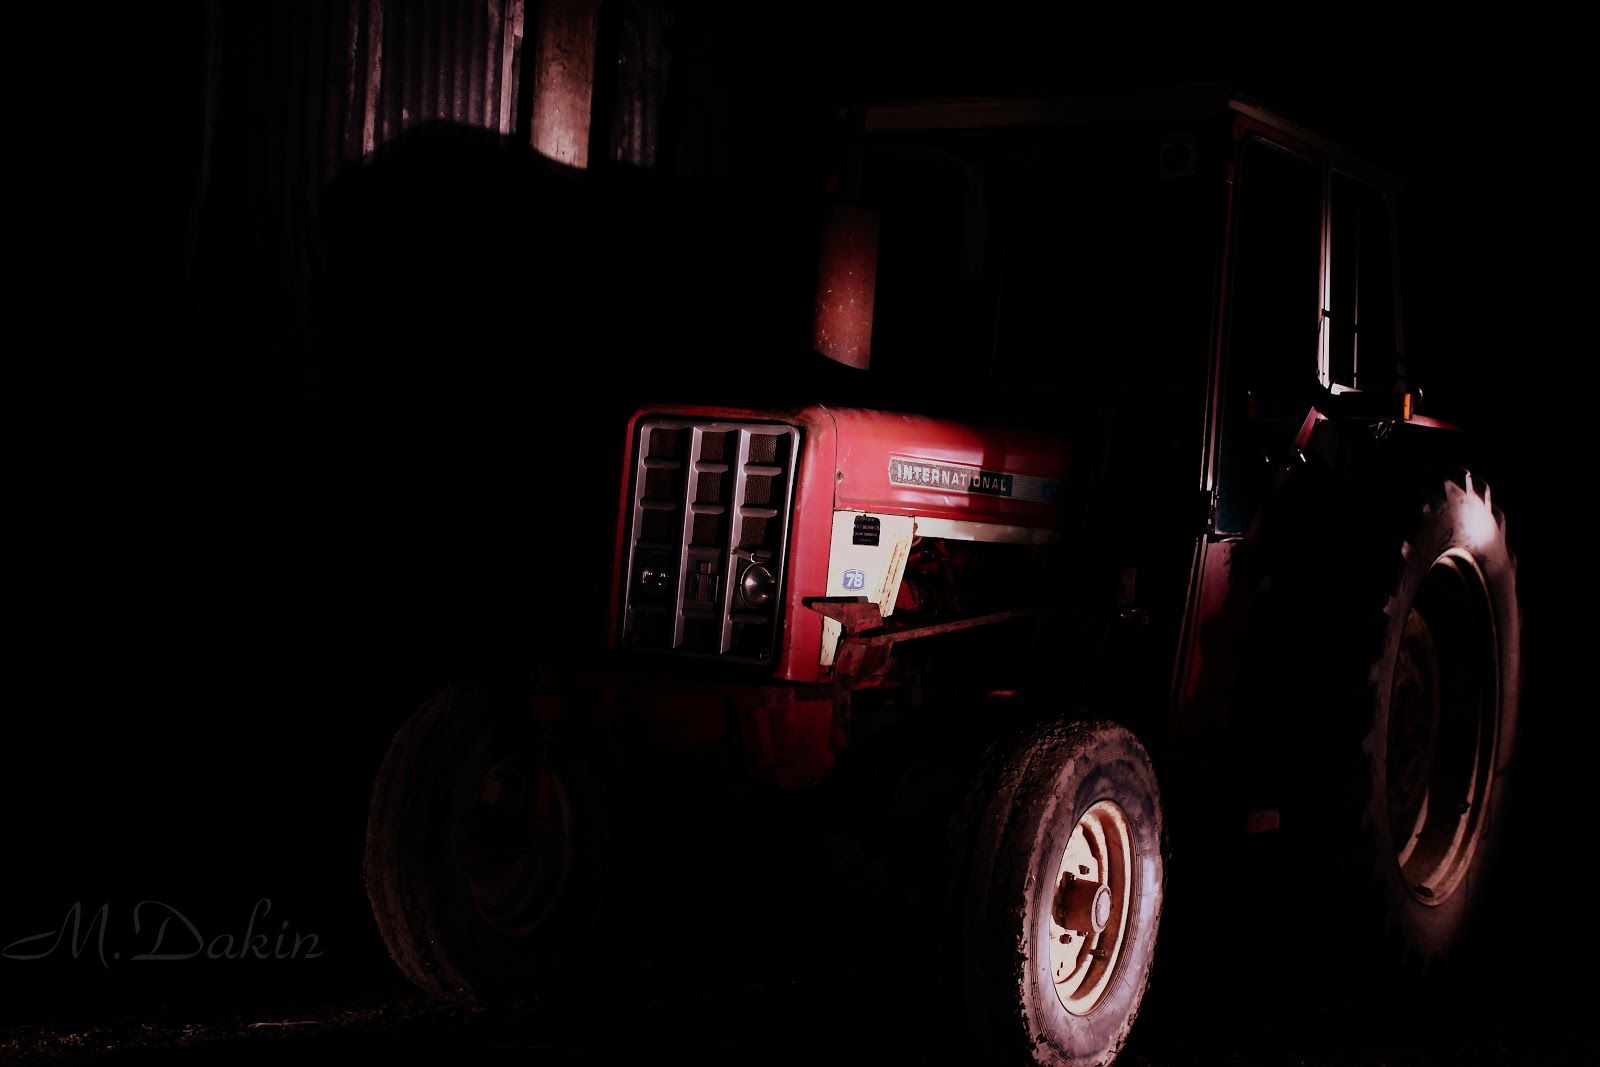
Here are some of photos manipulating the use of light

light orb

light without power

ring of sparks

life in the dark

shady tractor

the power of heat

burning under stress

spiro-LIGHT-graph

star gate

follow the laser
One of my favorite things to play with is light manipulation. To for this you need a sturdy tripod, a shutter release cable and a lot of time and patience.

Some of the sbove images have an exposure time of over 7minutes, others as short as 1/1000second  

Friday, 19 October 2012

my camera gear

In today's post I am going to show what kit I have collected over the last year.

camera gear
Starting from the back right.
  • Camera bag. I have actually got 2 identical ones so i don't have to carry all my gear at the same time.
  • Sturdy tripod
middle row from the right
  • A selection of filters including a polarising filter, nd8 neutral filter and some macro filters
  • Canon zoom lens EF 75-300mm 4-5.6 III
  • Shutter release
  • Canon EFS 18-55mm 3.5-5.6 kit lens
  • Canon 550D body
  • Manual macro extension tubes
  • Yongnuo YN560 speedlite
Front row from the right
  • Selection of batteries (i have 3 in total)
  • Memory cards (i carry 2 at all times)
  • Iwinka wireless triggers and receivers for flash
My kit is by no means professional but it is within my budget and it gets the job done