
The dial on most DSLR's are almost all the same in the way they work and the modes they have on them.
| nikon d3100 |
| canon 550D |
The pictures above is of a Canon 550D, and a Nikon d3100.
The whole point of the modes is to be able to create the perfect exposure for the scene you are shooting. Depending on the mode you pick will give you control of certain aspects such as Shutter speed, ISO, Aperture. For more info on these please see fundamentals of photography
Starting with the automatic modes
- Full Auto - both models use a green symbol for this mode
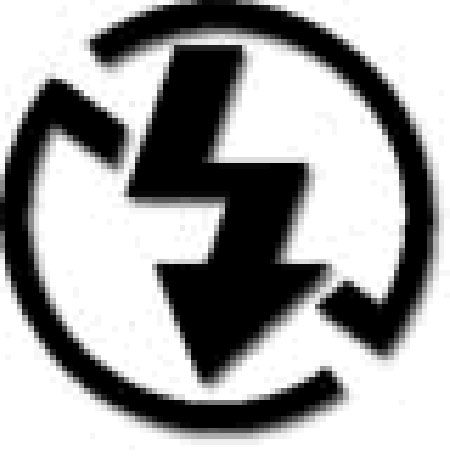
- Full Auto flash disabled - both models use a symbol with a line going through a flash symbol.
This mode does everything for you, It will chose the correct Shutter speed, Aperture and ISO, in doing this it will most likely bump the ISO up so that it can pick the fastest shutter speed. This mode will not allow the flash to be fired.
- Portrait mode - both models use a symbol with a head.
This mode is also fully automatic, But will differ from Full auto by using a wider aperture such as F5.6 to blow out the background and making the foreground pop. The aperture is dependent on your lens. This mode will also force the flash
- Landscape mode - Both models use a symbol to mimic a mountain range.
This mode is fully automatic and will pick an aperture so that as much of the picture is is in focus. This mode does not force the flash.
- Macro mode - both models use a flower as the symbol
This mode is there to try to get pin sharp close up pictures. This will more than likely use a wide aperture and force the flash. This is due to the nature of the subject and distance from the lens..
- Sports mode.- both use a figure in action symbol
- Night mode - both models use a symbol with a figure and a star in a square
this mode will most defiantly bump up to the ISO and use a wide aperture to let as much light get to the sensor. This mode will force the flash.
- Canon only mode Creative Aperture mode - symbol CA in a square
this mode is on canons only. It will still choose your Aperture, Shutter speed and ISO but you can decide if the flash is fired, how bright or dark your exposure is and how blown out the background is.
Now lets get onto the modes that let you get more creative and into your exposures to get them looking like you want them.
- P mode - this symbol is you guessed it, its a P
In this mode you get full control of the ISO (you can set it to auto if you wish). You have full control of the flash. You also have control over the overall exposure compensation. If you want a slightly darker picture dial in a negitive exposure number or a positive number if you are after a brighter exposure. When you push the shutter button in this mode halfway it will select the aperture and shutter speed. At this point you can release the shutter button and change the aperture control which will change the shutter speed accordingly. You can also force the flash aswell.
- Shutter priority mode - canon symbol 'Tv' nikon symbol 'S'
This mode gives you direct control of the shutter speed. on the canon 550D you can choose 1/3stop increments starting from 1/4000seconds all the way to 30seconds. You have also got full control of the ISO (you can set it to auto if you wish). You also have control over the overall exposure compensation. If you want a slightly darker picture dial in a negitive exposure number or a positive number if you are after a brighter exposure. If you force the flash in this mode you will cut the minimum shutter speed to the sync speed of your camera, on the canon 550D it is 1/200 of a second. The camera will automatically pick the aperture for you.
- Aperture priority mode - canon symbol 'Av' nikon symbol 'A'
This mode is same as shutter priority but instead of the shutter speed you have control over the Aperture. How much control over the apeture depends on your lens. for example a canon 18-55mm lense will let you us the following aperture sizes
At the 18mm end-
F3.5, F4, F4.5, F5, F5.6, F6.3, F7.1, F8, F9, F10, F11, F13, F14, F16, F18, F20, F22
At the 55mm end-
F5.6, F6.3, F7.1, F8, F9, F10, F11, F13, F14, F16, F18, F20, F22, F25. F29, F32. F36
- Manual mode - both models use a 'M' as the symbol
This is my favorite mode to use. This gives you the ability to control the Shutter speed, Aperture and the ISO independently of each other. For example you may choose a shutter speed of 1/125second an aperture of F8 and ISO400. In this mode you will either have to be aware of the exposure meter and make sure it is where you want it to be, or check over your photos to make sure they are how you would like them. You may also force the flash in this mode. An added feature on this mode is in the shutter speed, you can choose the 'BULB' setting which will leave the shutter open for aslong as the shutter button is pushed, from a minimum of 1 sececond all the way until the power supply runs out.
There are a few modes on both the dials i will not explian as i have not used them oor know the basics of them. On the canon the 'A-DEP' and 'video' modes on the nikon the 'kids' mode.


